This article is about botanical illustration for beginners, including tools, materials, and simple tips for drawing plants and flowers.
“To draw a plant is to pause time—to witness its quiet story and retell it with your own hand. Art lets nature speak in color, line, and light.” – The Economic Botanist
If you’ve ever admired the delicate beauty of a botanical illustration, you’ve probably wondered how to get started yourself. Whether you’re enchanted by the fine lines of a fern or the vibrant colors of a blooming flower, botanical illustration offers a wonderful way to capture nature’s wonders. But where do you begin?
Don’t worry – you don’t need to be an expert artist to start creating beautiful botanical drawings. In this beginner’s guide, we’ll walk you through everything you need to know to get started with botanical illustration, from the basic tools and materials to tips on improving your skills. Plus, we’ll discuss some essential resources to help you along the way.
Let’s dive in, and soon enough, you’ll be drawing your own plants and flowers like a pro!
- What is Botanical Illustration?
- Basic Tools and Materials You’ll Need
- How to Choose the Right Supplies for Beginners
- Understanding Different Techniques in Botanical Illustration
- Step-by-Step Guide to Drawing Your First Botanical Illustration
- Tips for Practicing and Improving Your Botanical Illustrations
- Common Mistakes to Avoid
- The Bottom Line
What is Botanical Illustration?
Before we jump into the practical stuff, let’s take a moment to understand what botanical illustration really is.
Botanical illustration is an art form that focuses on the accurate and detailed depiction of plants and flowers. Unlike other types of art, botanical illustrations are often used for scientific purposes to document plant species. However, today, it’s also a popular form of artistic expression for people who appreciate nature’s beauty and want to translate that into art.
Botanical illustrations can range from highly detailed, almost scientific drawings, to more free-flowing, colorful watercolor interpretations of plants. It’s all about capturing the essence of the plant—whether you’re working with pencil, ink, or watercolors.

Why You Should Try Botanical Illustration
Botanical illustration is not just about drawing pretty pictures. It’s an art form that teaches you to see the world differently. You’ll develop a keen eye for detail, learn to observe shapes, textures, and the way light interacts with nature. Plus, there’s something very calming about drawing plants—many people find it therapeutic.
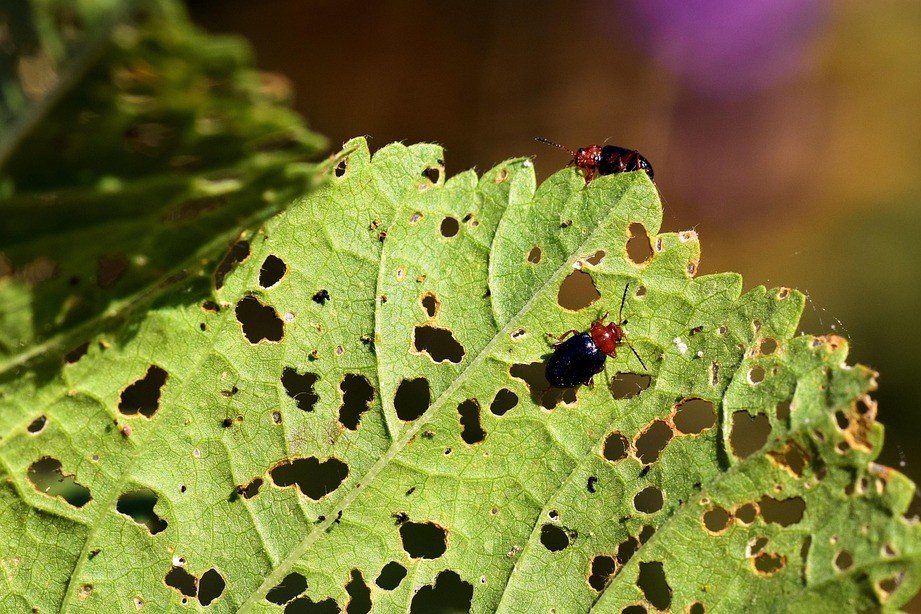
If you’ve ever found yourself staring at a leaf and getting lost in its intricate veins, you’ll enjoy this hobby. And the good news? You don’t need to be an experienced artist to start drawing. With the right tools and guidance, anyone can learn how to create beautiful botanical illustrations.
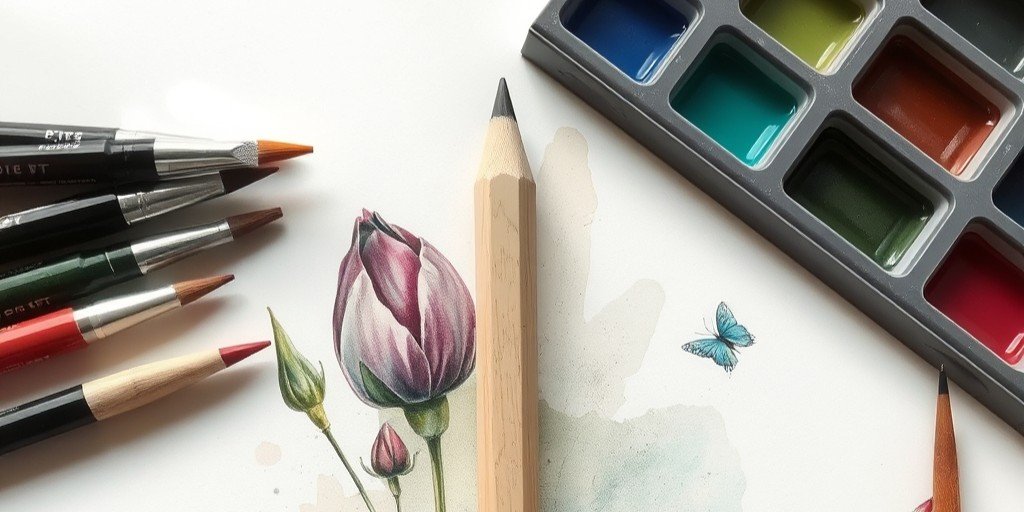
Basic Tools and Materials You’ll Need
Alright, now that you know what botanical illustration is all about, let’s talk about the supplies you’ll need to get started.
Paper
The type of paper you use is crucial. For botanical illustrations, you’ll want a paper that can handle various mediums (like watercolor or pencil) without warping or bleeding. Cold-pressed watercolor paper is a fantastic choice. It’s textured and holds up well to water. If you prefer to work with pencil, a smooth Bristol paper is perfect for capturing fine details.
Pencils
For sketching, you’ll need a good set of graphite pencils. You’ll want to have a range of hardness (ranging from 2H for fine details to 6B for dark shading). For more vibrant color illustrations, colored pencils are a great option. Brands like Prismacolor and Faber-Castell are popular for their rich pigmentation and smooth application.
Inks and Watercolors
When it comes to painting, watercolors are the go-to medium for botanical illustrators. They allow you to blend colors beautifully and capture the delicate feel of flowers and plants. You can also incorporate fine-tipped inks for extra details or outlines.
Brushes
Watercolor brushes come in all shapes and sizes, but you’ll mostly need round brushes for detailed work and flat brushes for broader strokes. Choose a set that works for your style, but don’t feel the need to buy every size—just get a basic set to start.
Other Essentials
In addition to paper, pencils, and brushes, there are a few other tools to consider, such as an eraser set (or simply a kneaded eraserworks great for botanical illustrations), a magnifying glass (helpful for capturing tiny details), and a ruler (to keep your lines straight when needed).

How to Choose the Right Supplies for Beginners
If you’re new to botanical illustration, it can be tempting to splurge on all the fancy supplies you see online. But, as with most things, it’s best to start simple.
Look for Starter Kits
When starting out, you might want to invest in a beginner botanical illustration kit. These kits often come with everything you need (paper, pencils, and watercolors), and they’re perfect for practicing without the overwhelm of picking individual supplies. Look for affordable botanical illustration kits that include beginner-friendly tools, such as colored pencils, sketchbooks, and watercolors.
Cost-Effective Options
You don’t have to break the bank to get started. Look for entry-level brands that offer good quality at a lower price point. For example, Prismacolor Scholar colored pencils are a great choice for beginners, as are Winsor & Newton Cotman watercolors. These are high-quality materials that won’t cost you a fortune.
Understanding Different Techniques in Botanical Illustration
Once you’ve got your supplies, it’s time to explore some basic techniques. In botanical illustration, you’ll likely use a combination of methods—pencil, ink, and watercolor—to create your final piece. Here’s a quick breakdown of the techniques you’ll be working with.
Pencil Sketching
The foundation of most botanical illustrations begins with pencil sketches. Start by drawing the basic outline of the plant or flower. Focus on getting the proportions right before adding in any details. Use lighter pencil marks at first so you can adjust and erase as needed.
Watercolor Painting
Watercolors are a popular choice for botanical illustrations because of their transparency and ability to blend seamlessly. Begin by applying light washes of color and gradually build up layers to create depth. Don’t be afraid to experiment with blending different hues to mimic the delicate colors of real plants.
Ink Work
For a more detailed, finished look, you can use ink to outline or add fine lines to your illustration. Some artists prefer to do their ink work after the watercolor layers dry, while others combine both as they go. Fine-tip pens (like Micron pens) work well for this.
Colored Pencils
When you want a bit more control over your colors, colored pencils are a fantastic medium. You can layer them to create depth and add texture. For botanical work, choose pencils that offer rich pigmentation and smooth blending properties.
Step-by-Step Guide to Drawing Your First Botanical Illustration
Let’s walk through a simple step-by-step guide to drawing your very first botanical illustration. This process combines sketching and painting, so you’ll get to practice a range of techniques.
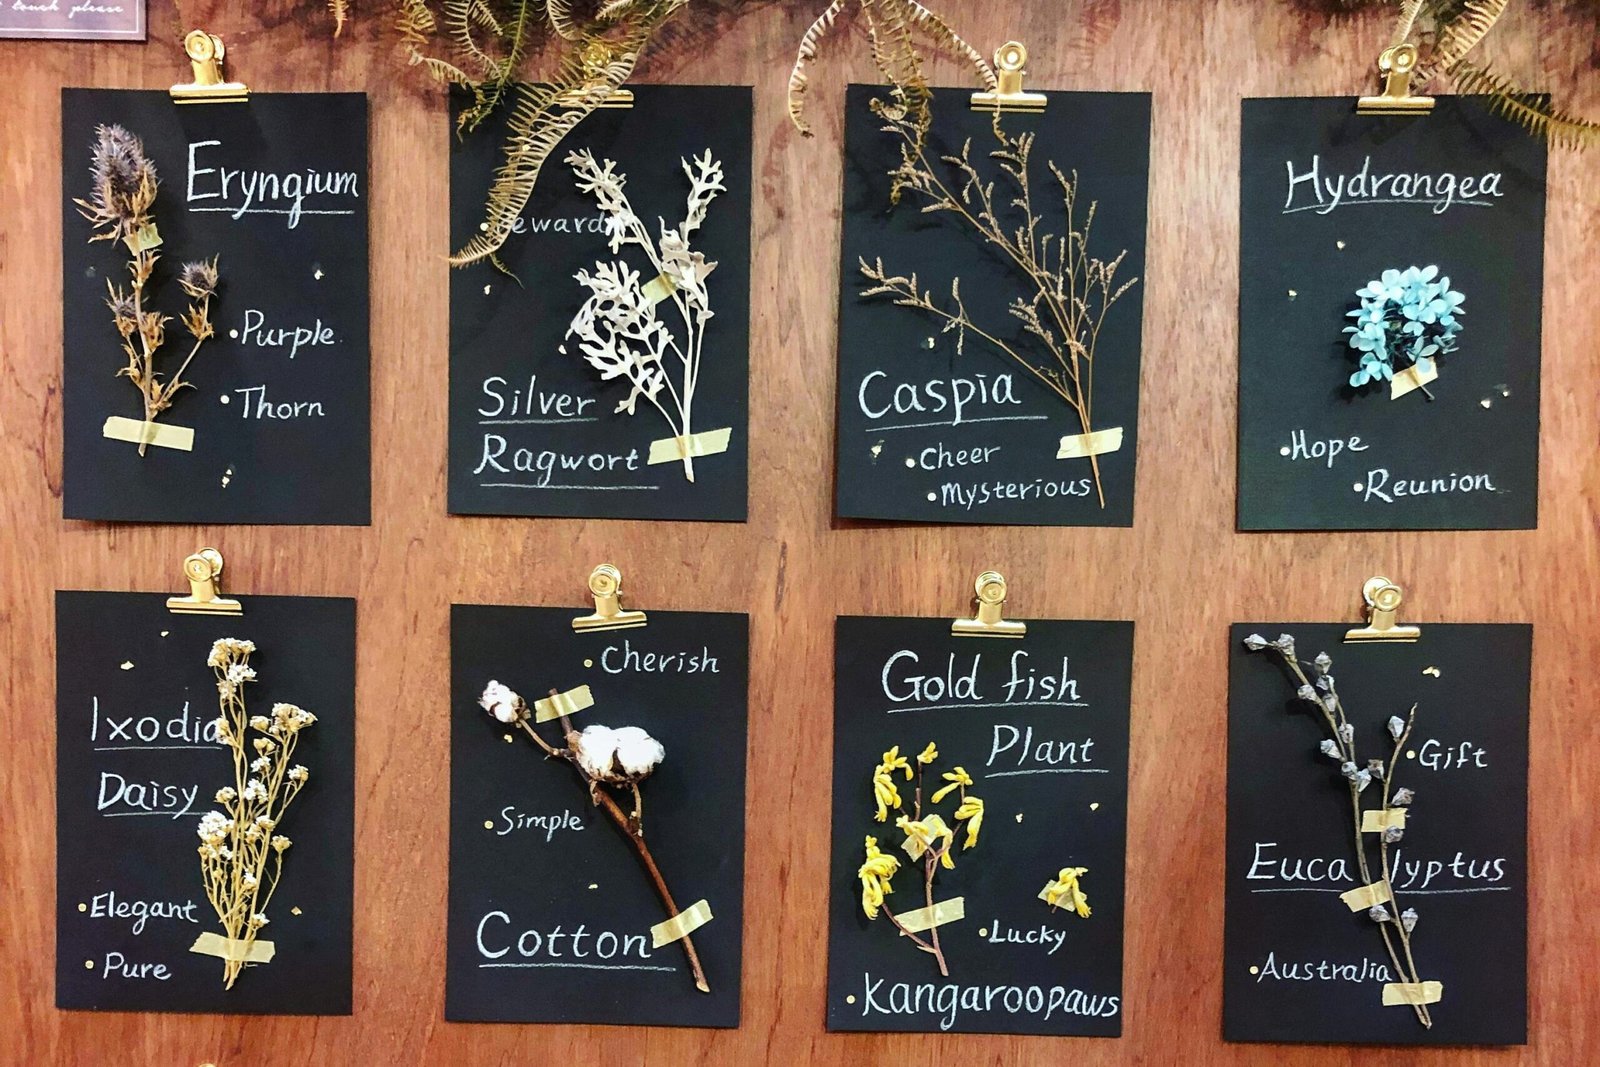
Step 1: Choose Your Subject
Start with something simple, like a leaf, a single flower, or even a branch of berries. Avoid picking overly complex subjects (like full bouquets or large trees) when you’re just starting out.
Step 2: Sketch the Basic Shape
Lightly sketch the outline of your subject. Focus on proportions and shapes, not the details yet. You can use a pencil for this part so that it’s easy to erase and adjust as you go.
Step 3: Add Detail
Once you’re happy with the basic shapes, start adding the details. Look closely at your subject. Notice how the veins of a leaf branch out or how petals overlap. Work slowly, paying attention to the smaller features.
Step 4: Add Color
Now it’s time to bring your illustration to life! Start with light washes of watercolor and gradually build up the color. If you’re using colored pencils, layer your colors slowly to achieve a realistic effect. Remember, nature is full of subtle color changes—don’t be afraid to mix and blend your colors.
Step 5: Final Touches
Once the main colors are in place, add any final touches. This could mean adding shading with a darker pencil or ink outlining for added definition. Take your time to make your illustration feel polished and complete.
")
Tips for Practicing and Improving Your Botanical Illustrations
The best way to improve is through regular practice. Here are a few tips to keep in mind:
Start Small: Don’t overwhelm yourself with large projects right away. Begin with simple leaves or small flowers.
Observe: Spend time really looking at the plants around you. Study their shapes, textures, and colors.
Practice Daily: Set aside time each day to sketch something new. The more you draw, the better you’ll get.
Common Mistakes to Avoid
Even seasoned botanical illustrators make mistakes, so don’t be hard on yourself. However, here are a few common pitfalls to watch out for:
Rushing the Details: Take your time to get the little things right. It’s easy to rush when you’re excited, but slow and steady wins the race.
Ignoring Proportions: Make sure the shapes and proportions are accurate before diving into details.
Not Practicing Enough: Like anything, botanical illustration gets easier with practice. Don’t expect perfection right away!
The Bottom Line
Botanical illustration is a beautiful, rewarding hobby that anyone can start with the right tools and a bit of patience. Whether you’re looking to express your love for nature, enhance your artistic skills, or dive into a new creative endeavor, botanical illustration offers endless opportunities for growth.
So, grab your sketchbook, choose your favorite plant, and start sketching! And if you’re looking for more resources or recommendations, feel free to check out our affiliate links for some fantastic botanical illustration kits and supplies.
Happy drawing!
********************
Are you ready to give botanical illustration a try? Send us a comment and let us know what plant you’re excited to draw first! Don’t forget to share your artwork with us – we’d love to see how your botanical illustrations turn out!